Table of Contents
When it comes to video calls, live streaming, or content creation on your Mac, clarity and quality make all the difference—and a well-optimized Logitech camera can be your secret weapon. But are you getting the most out of your camera’s capabilities? Logitech cameras are known for their high resolution and crisp visuals, but without the right settings, you may not be tapping into their full potential. In this guide, we’ll walk you through essential tips and tweaks to optimize your Mac Logitech camera settings for the best performance. From adjusting resolution to lighting and color correction, get ready to elevate your camera quality for any situation. Let’s dive in and make sure you’re looking your best on every call! 
Step 1: Set Up and Connect Your Logitech Webcam
First, connect your USB webcam to your Mac. Most Logitech webcams use a USB connection, so ensure that the webcam is properly plugged into an available USB port on your Mac. Once connected, check your camera to confirm it’s recognized by your operating system. You can do this by going to the Apple menu and selecting System Preferences > Security & Privacy > Privacy, then checking Camera to confirm that the app you’ll be using has access to the camera.
Step 2: Install Logitech’s Logi Tune App
To unlock more controls over the webcam, consider downloading Logi Tune from the App Store. This app allows you to make detailed adjustments to your Logitech camera settings on Mac. With Logi Tune, you can tweak settings like white balance, brightness, and zoom, which aren’t always accessible directly through the Mac operating system.
Once you’ve installed Logi Tune, open the app and give it access to the camera if prompted. From here, you’ll have access to a range of camera settings that allow for customization based on your specific needs. 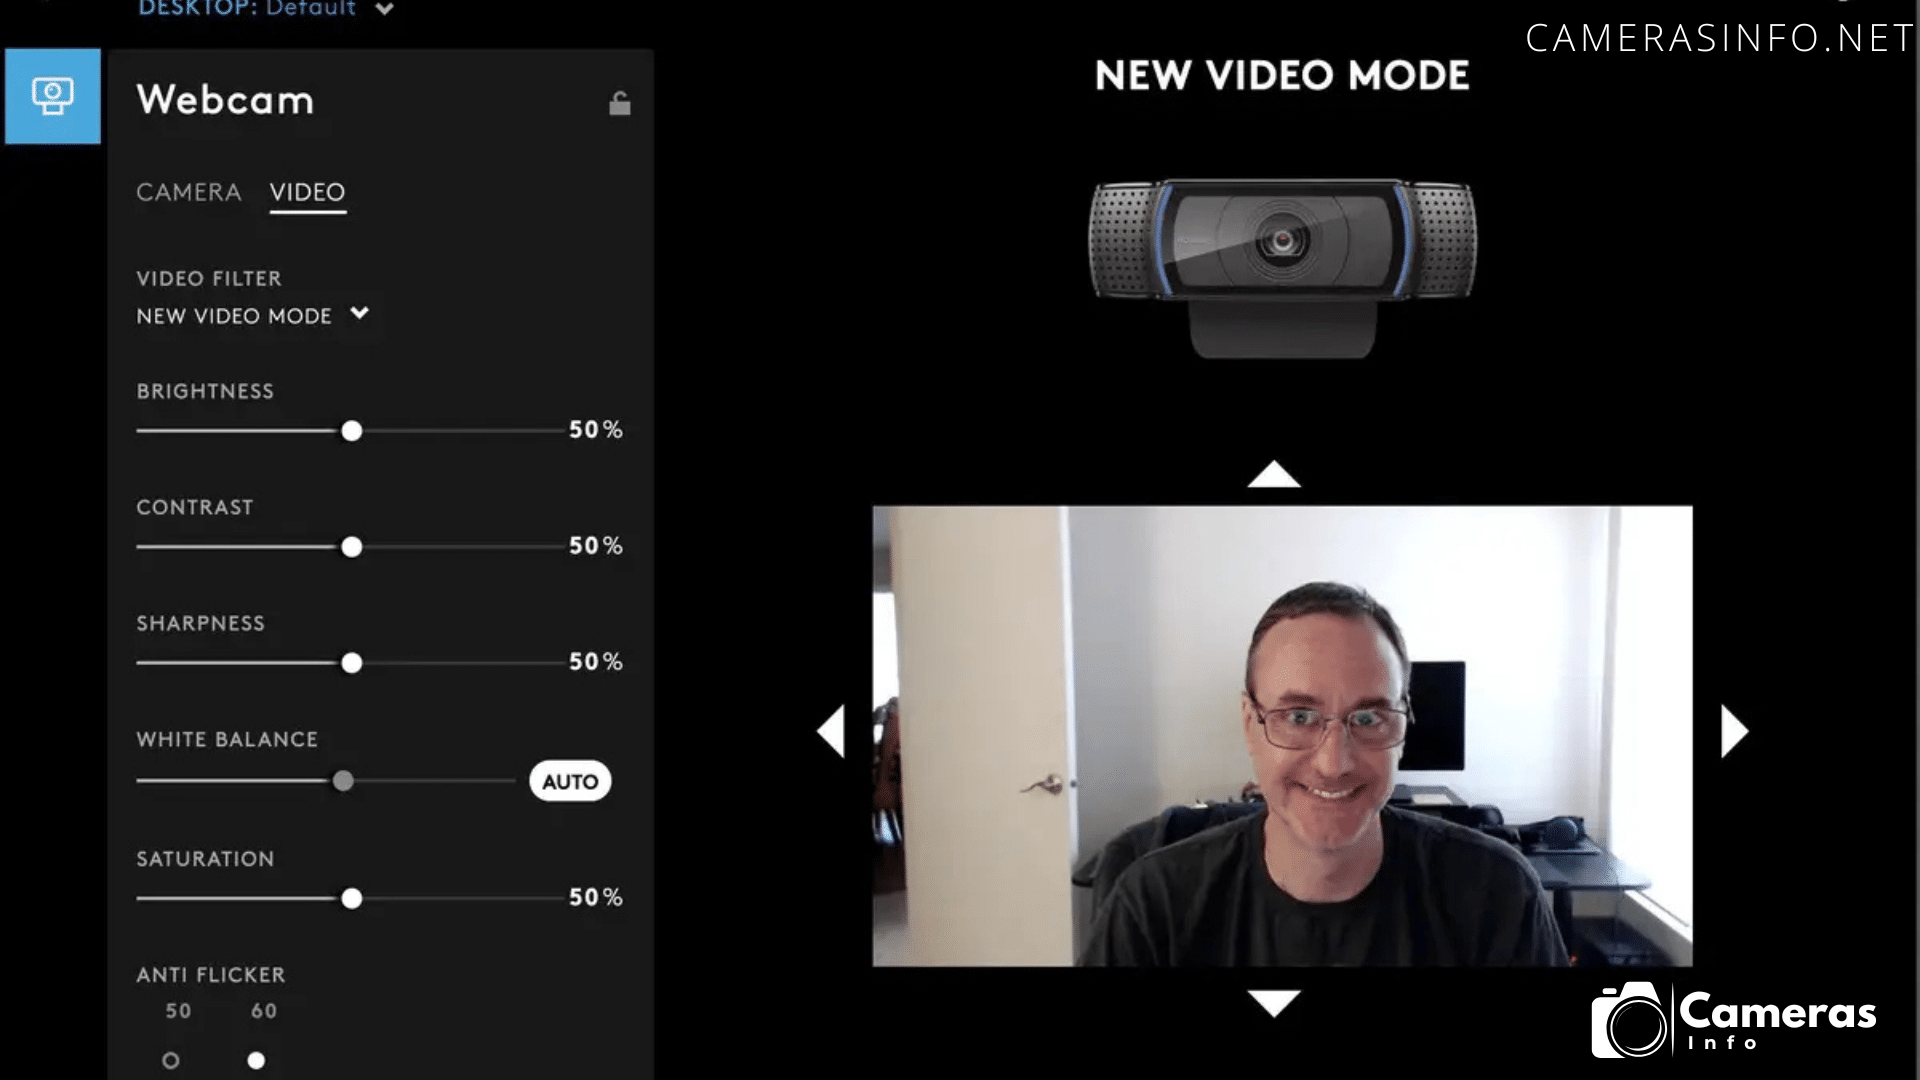
Step 3: Adjust Basic Camera Settings on Your Mac
Open an App that uses the camera on your Mac, like FaceTime, Zoom, or Photo Booth, to preview the camera feed.
Launch Logi Tune alongside this app so that you can see how your adjustments impact the video in real-time.
Start with basic adjustments to your Logitech camera settings to set the foundation for high-quality video. Here are some essential settings to consider:
Brightness and Contrast: Adjust the brightness and contrast to prevent overly dark or washed-out visuals.
White Balance: Setting the correct white balance ensures colors appear accurately in the video. For natural-looking colors, you may want to set the white balance to “Auto” in Logi Tune, or manually adjust it based on the lighting in your environment.
Sharpness: Increase sharpness slightly to help with video clarity, especially if you’re in a dimly lit room.
Field of View: Some Logitech webcams offer adjustable fields of view, letting you zoom in or out to frame yourself better. Use this feature to ensure your face is centered within the frame.
Step 4: Enable and Use Advanced Features in Logi Tune
Logi Tune offers more than just basic adjustments; it provides advanced controls over the webcam. Here’s how to make use of these additional features:
Framing Grid: Enable the framing grid to help position yourself within the camera’s frame for balanced composition. A framing grid is particularly useful for achieving a professional look during video calls.
Auto Light Adjustment: If your Logitech webcam supports automatic light adjustment, enable this feature in Logi Tune. This setting helps the webcam detect and adjust to various lighting conditions in real-time.
Zoom and Pan: Some Logitech webcams allow digital zooming and panning. Use these settings to customize your framing without physically adjusting the camera. You can adjust zoom levels to remove distractions from the background or to provide a close-up view during calls. 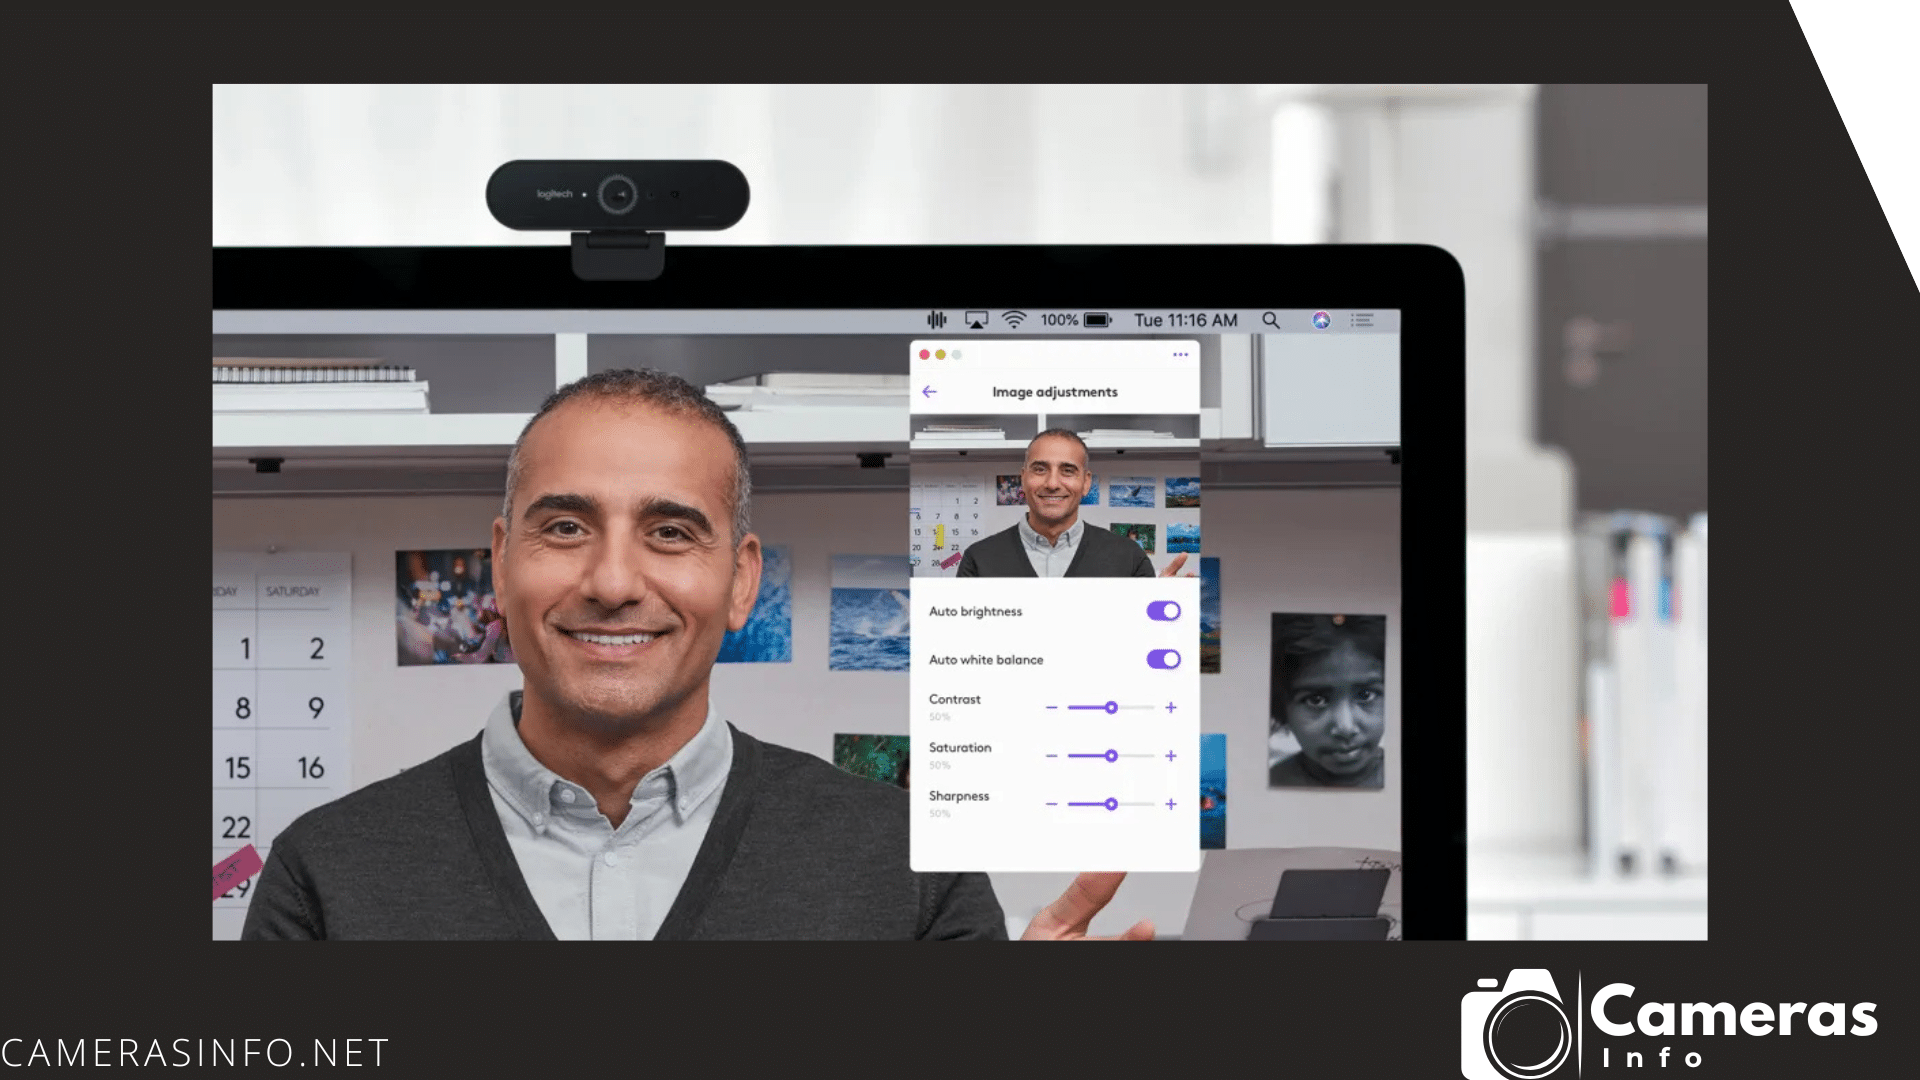
Step 5: Adjust Camera Settings in Video Apps
Once you’ve configured your Logitech webcam settings in Logi Tune, you may also need to adjust specific camera settings within the apps you’re using, such as Zoom or FaceTime:
Zoom: Open Zoom, go to Settings, select Video, and check that your Logitech webcam is selected. Here, you can also adjust aspects like framing grid and touch up appearance.
FaceTime and Other Apps: Open the app, and go to its camera settings or video settings if available. Ensure that the Logitech camera is selected as the main camera on your Mac.
Step 6: Troubleshoot Common Issues
Sometimes, after connecting a USB webcam, users face issues with apps not recognizing the webcam or video quality not appearing as expected. Here are some troubleshooting tips:
Check Your Camera Permissions: Ensure your operating system has granted access to the camera for the specific app. You can manage this in System Preferences > Security & Privacy > Privacy > Camera.
Restart Your Mac: Sometimes, a simple restart can resolve minor connectivity issues between the USB webcam and the operating system.
Update Software: Ensure that Logi Tune and any other related software are up-to-date. Additionally, keep your operating system updated to ensure compatibility with the Logitech webcam. 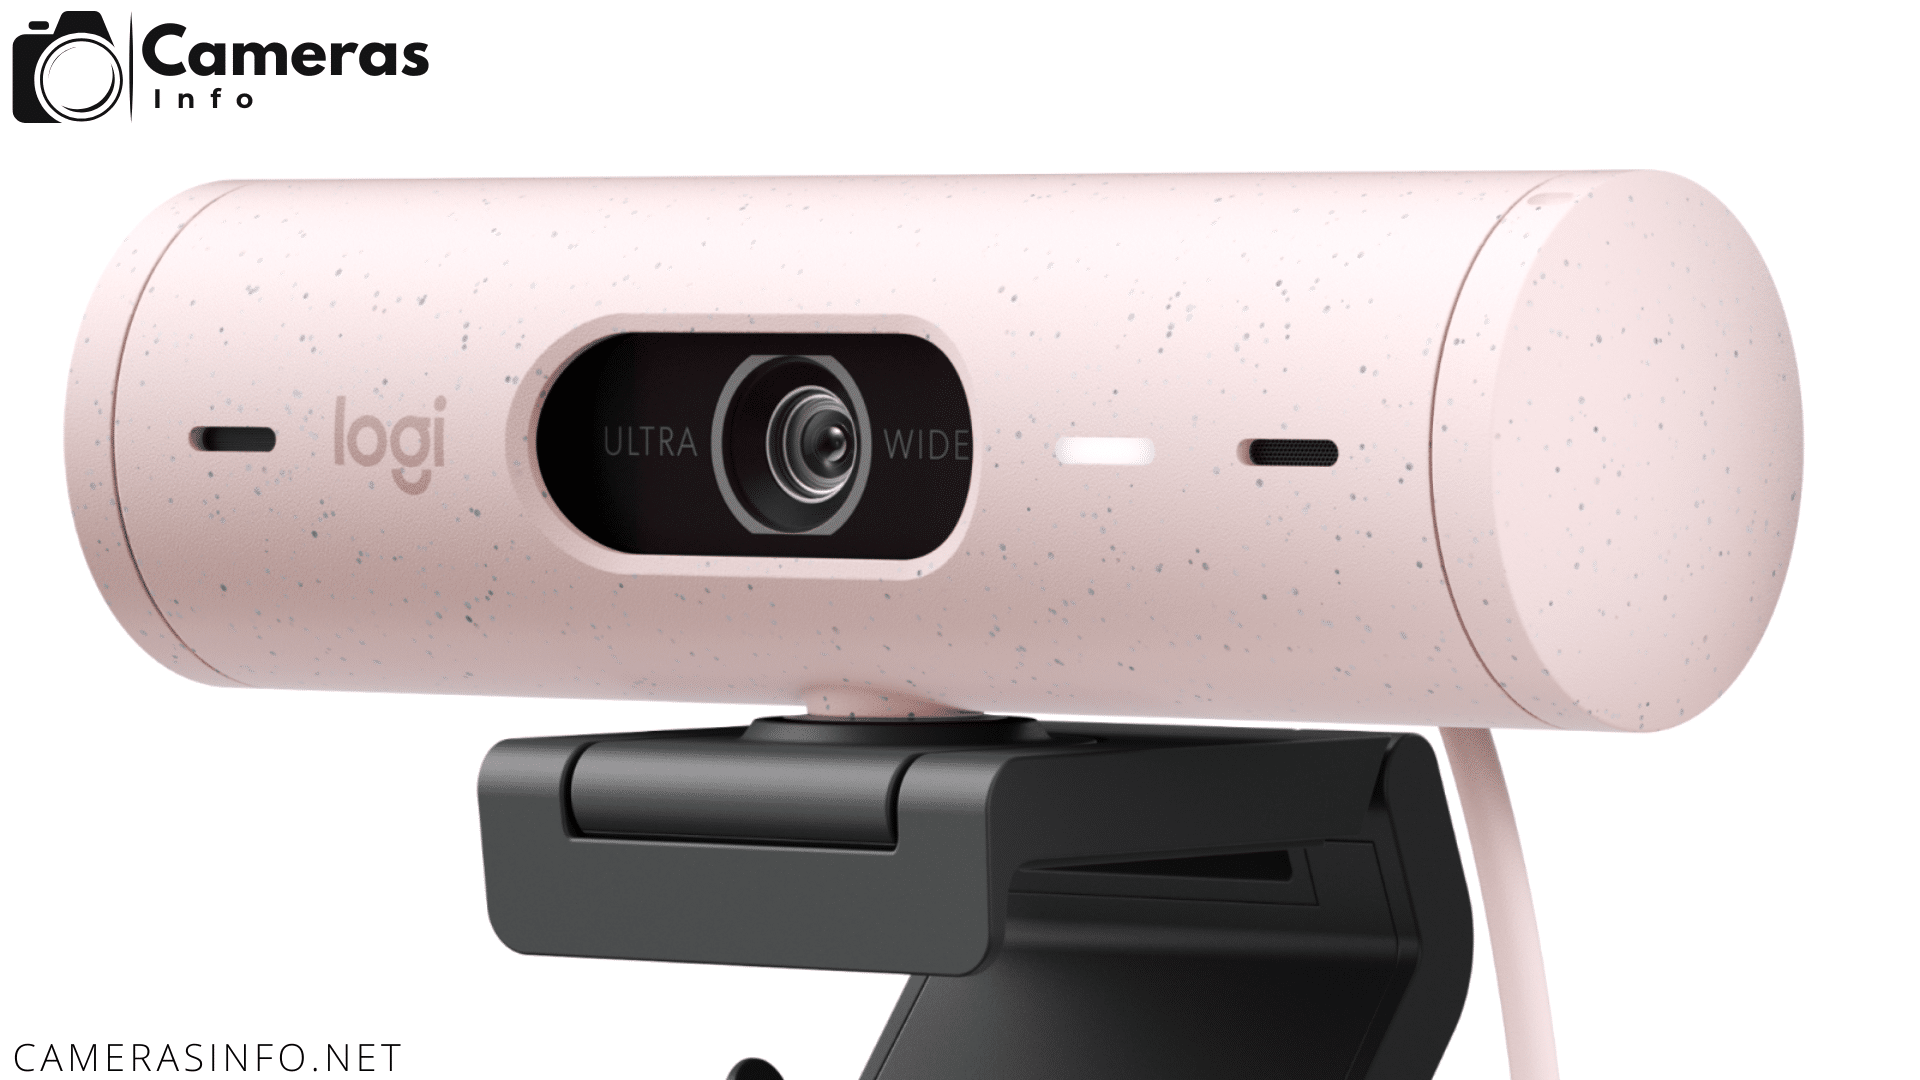
Step 7: Compare with Built-In Camera
For those who use a MacBook, you also have a built-in camera available, but Logitech webcams often offer higher resolution and better video quality. To see the difference, try switching between the built-in camera and your mac Logitech webcam in any video app. Most users notice an improvement in color and clarity with the external Logitech camera compared to the built-in camera.
Step 8: Fine-Tune Settings for Different Environments
Different lighting conditions require different camera settings. If you move from a bright room to a dim space, it’s a good idea to open Logi Tune and check your settings again. Adjust the white balance, brightness, and contrast as needed to ensure consistent quality across various settings.
Tips for Using Logitech Camera Settings on Windows
If you occasionally switch between Mac and Windows, note that Logitech camera settings might differ slightly. Settings in Windows often provide additional customization, so if you’re using a dual-boot system or multiple devices, familiarize yourself with camera settings mac and settings in Windows for the best experience.
Conclusion
Mastering Logitech camera settings mac allows you to get high-quality video on your Mac for video calls and streaming. With Logi Tune and basic camera settings adjustments, you can significantly improve video clarity, color accuracy, and overall image quality. Whether you’re using it for professional meetings or personal calls, following these steps will ensure you’re always presenting your best self on camera. Remember, optimizing your mac Logitech camera settings can make a noticeable difference in how you appear to others online.
