Table of Contents
Ready to bring your Canon shots to life on your MacBook? Imagine transferring your best moments from camera to screen in just a few clicks! Whether you’re an aspiring photographer or a seasoned pro, connecting these two powerful devices can revolutionize your workflow. Not only does it allow you to back up your precious memories, but it also opens up a world of editing possibilities with powerful software at your fingertips. This quick guide how to connect canon to MacBook is here to help you effortlessly bridge the gap, ensuring you can easily upload, edit, and share your stunning images without any hassle. We’ll cover everything from choosing the right cable to navigating software settings, making the entire process seamless and straightforward. Whether you’re looking to create stunning photo albums, edit videos, or simply organize your files, you’ll be ready to unleash your creative potential in no time. Let’s dive into the simple steps to connect your Canon to your MacBook and elevate your photography game!

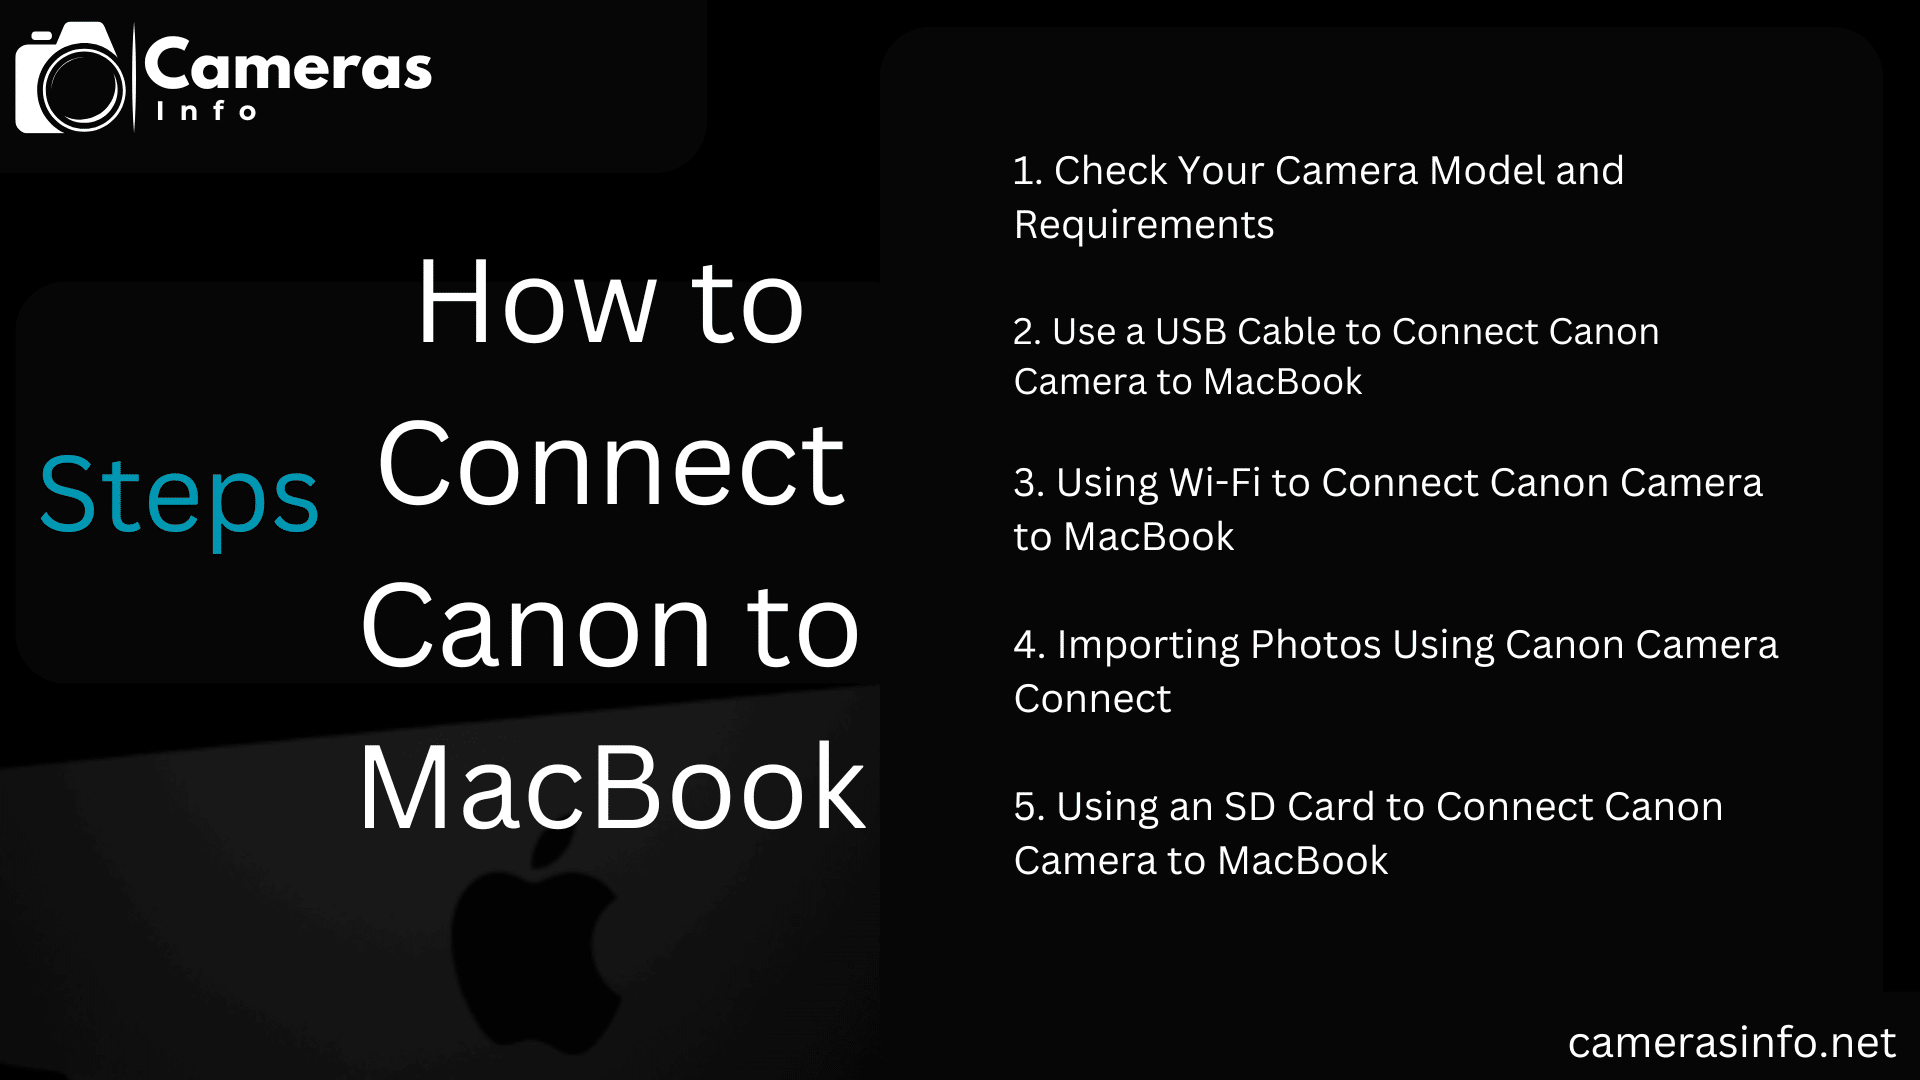
1. Check Your Camera Model and Requirements
Before connecting, make sure your Canon camera is compatible with Mac and identify the connection options available for your model. Most Canon cameras can connect via USB, Wi-Fi, or Bluetooth, but some may require specific drivers or software.
2. Use a USB Cable to Connect Canon Camera to MacBook
One of the most straightforward methods for connecting a Canon camera to MacBook is via a USB cable. Here’s how:
Power Off Your Camera: Start by turning off your camera to avoid any potential issues during the setup.
Connect the USB Cable: Insert one end of the USB cable into the camera’s USB port and the other into your MacBook’s USB port.
Turn on Your Camera: Power on your camera. It should prompt your MacBook to recognize the device automatically.
Open Image Capture or Photos: To access the files, open the Image Capture app or Photos app on your MacBook. The Canon camera should appear in the device list.
Import Photos: Select the images you want to import, or choose “Import All” to save all photos to your MacBook. This step completes your how to connect Canon camera to MacBook process via USB. 
3. Using Wi-Fi to Connect Canon Camera to MacBook
If your Canon camera supports Wi-Fi, you can establish a wireless connection for an efficient transfer. Here’s how to use Wi-Fi to connect Canon camera to MacBook:
Enable Wi-Fi on Your Camera: Go to the settings menu on your camera and enable Wi-Fi. The camera should create its own Wi-Fi network.
Connect to Wi-Fi on MacBook: On your MacBook, go to Wi-Fi settings and select the network name that matches your Canon camera.
Download Canon Camera Connect for Mac: Canon provides a software called Canon Camera Connect for Mac to make transferring photos simple. Download and install this software from Canon’s official website.
Pair Your Devices: Open Canon Camera Connect on Mac and follow the prompts to pair your camera with the app. Once connected, you’ll have access to all your photos, making how to import photos from Canon to Mac an easy process.
4. Importing Photos Using Canon Camera Connect
The Canon Camera Connect for MacBook app allows for easy transfer and lets you remotely control the camera if needed. Here’s how to use it:
Launch Canon Camera Connect on Mac: Once the software is installed, open it on your MacBook.
Establish Connection: Ensure your Canon camera is connected via Wi-Fi. The app should automatically detect the camera.
Browse and Import Photos: The app will show thumbnails of all the images available on your Canon camera. Select specific photos to transfer or hit “Import All” to download everything to your MacBook. 
5. Using an SD Card to Connect Canon Camera to MacBook
If USB or Wi-Fi connections are unavailable, use an SD card to connect Canon camera to MacBook. Here’s a quick guide:
Remove the SD Card: After powering off your camera, remove the SD card that stores your photos.
Insert SD Card into MacBook: Insert the SD card into the card reader slot on your MacBook. If your MacBook lacks a card reader, use an external USB card reader.
Open Image Capture or Photos: The SD card should appear in the devices list. Open Image Capture or the Photos app to access the images.
Import Photos: Select the photos you want to import, or use “Import All” for all images. This method is a simple solution for how to upload photos from Canon to Mac without connecting the camera directly.
Troubleshooting Common Issues
If you’re having trouble with Canon connect Mac, here are a few troubleshooting tips:
Check Cable or Wi-Fi Connection: Ensure the USB cable is firmly connected, or that both devices are connected to the same Wi-Fi network if using Wi-Fi.
Update Software and Drivers: Outdated drivers may prevent the camera from connecting. Check Canon’s website for the latest drivers and software compatible with Canon camera connect on Mac.
Restart Devices: Sometimes a simple restart of your camera and MacBook can resolve connection issues.
Conclusion
Connecting your Canon camera to MacBook is quick and straightforward, whether you choose a USB cable, Wi-Fi, or SD card. By following these methods, you can easily upload photos from Canon to Mac and enjoy seamless editing, storage, and sharing of your images. Remember, using the Canon Camera Connect for Mac software can enhance your experience by adding extra control and organization options. Now you know how to connect Canon to MacBook and can start enjoying a smooth workflow between your devices.
