Table of Contents
Setting up a Wyze camera for the first time might seem daunting at first, especially if you’re not particularly tech-savvy. However, with the right guidance, the process becomes straightforward and manageable. Whether you’re working with a Wyze Cam v2, a Wyze Cam Pan, or any other model in the Wyze lineup, this step-by-step guide is designed to help you navigate the setup process with ease.
By following these instructions, you’ll not only learn how to connect your Wyze camera to WiFi but also discover tips and tricks to optimize your camera’s performance. From downloading the Wyze app to positioning your camera for the best possible view, each step is crafted to ensure you get the most out of your device.
This guide is perfect for both beginners setting up their first smart camera and seasoned users looking to upgrade or add to their Wyze system. With this resource, you’ll be able to connect your Wyze camera to WiFi quickly and efficiently, turning what might have seemed like a challenging task into a simple, hassle-free experience. So, let’s dive in and get your Wyze camera up and running in no time! 
Step 1 – Unbox and Prepare Your Wyze Camera
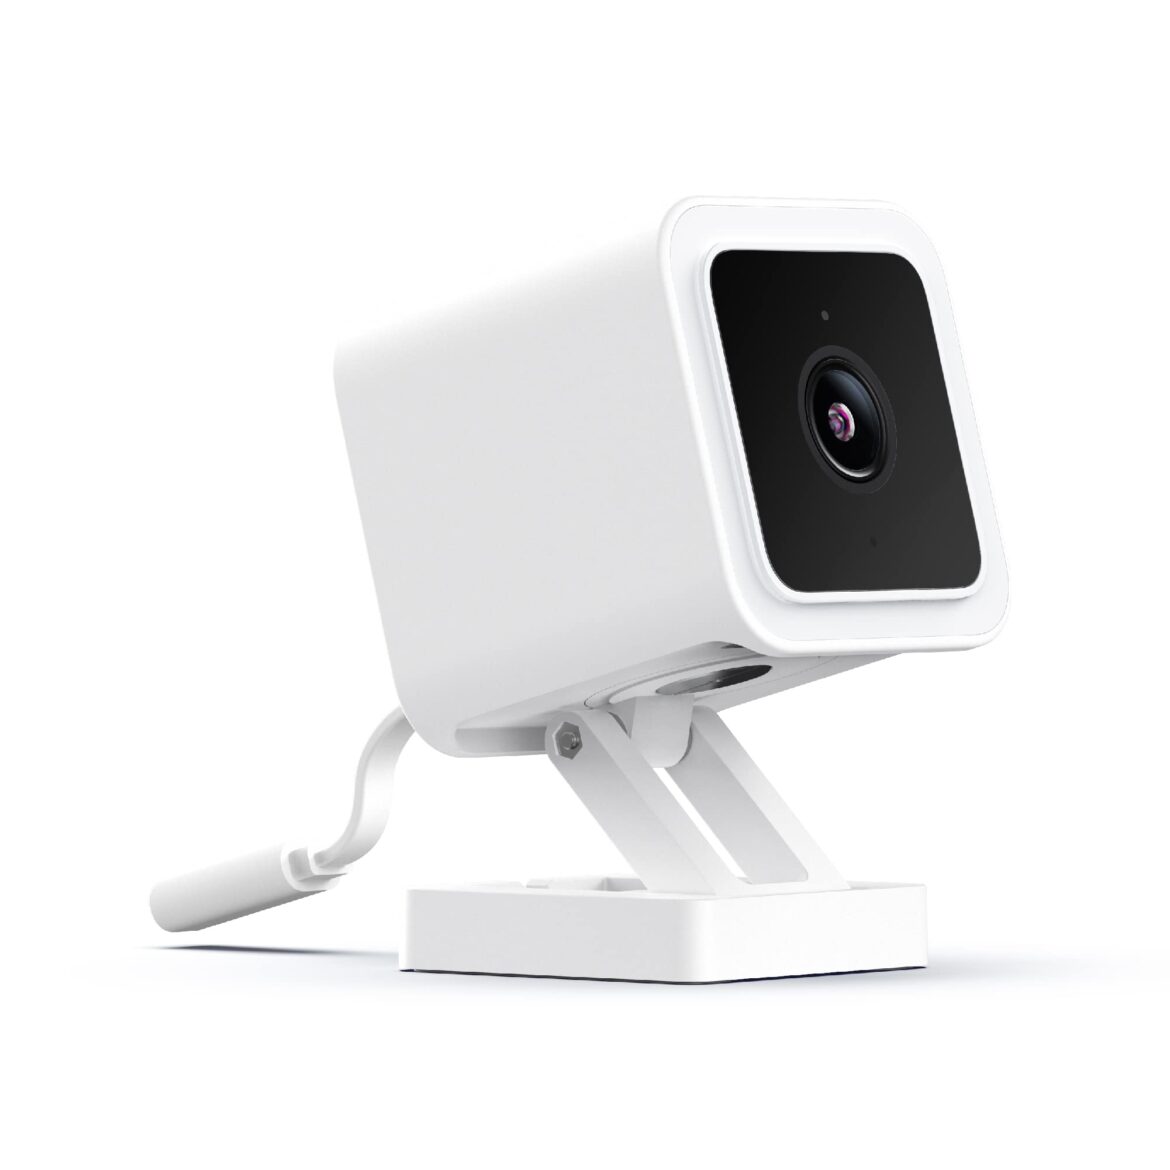
Before diving into the Wyze camera setup, unbox your camera and ensure that all components are present. Depending on the model, you should have the camera, a power adapter, a USB cable, and a mounting plate. Make sure that your camera is fully charged or connected to a power source before proceeding.
Step 2 – Download and Install the Wyze App
To begin the Wyze cam setup, you’ll need to download the Wyze app on your smartphone or tablet. The app is available for both iOS and Android devices. Simply visit the App Store or Google Play, search for “Wyze,” and download the app. Once installed, open the app and create a new account if you don’t already have one.
Step 3 – Power On and Reset Your Wyze Camera
Next, plug your camera into a power source using the included USB cable and power adapter. Wait for the camera to power on. Most Wyze cameras will have an LED light that will flash yellow or blue when it’s ready for setup. If your camera doesn’t automatically enter setup mode, you may need to reset it. To do this, press and hold the setup button on the camera until you hear a voice prompt indicating that the camera is ready for setup.
Step 4 – Begin the Wyze Camera Setup in the App
Open the Wyze app and log in to your account. To start the Wyze camera set up, tap the plus sign (+) in the top left corner of the app’s home screen, then select “Add Device.” Choose the type of Wyze camera you’re setting up from the list of devices.
Step 5 – Connect Your Wyze Camera to WiFi
Now, you’ll need to connect your Wyze camera to WiFi. Ensure that your smartphone is connected to the 2.4 GHz WiFi network you want the camera to use. Wyze cameras do not support 5 GHz networks, so this step is crucial.
When prompted by the app, enter your WiFi network name and password. The app will then generate a QR code on your screen. Hold your camera up to the QR code so it can scan it. You’ll hear a voice prompt from the camera saying, “QR code scanned, please wait.” This indicates that the camera is attempting to connect to your WiFi network.
Step 6 – Finalize the Wyze Camera Setup
Once the camera successfully connects to your WiFi, you’ll hear a voice prompt saying, “Setup completed.” The app will then guide you through naming your camera and configuring basic settings. This includes things like motion detection, sound detection, and recording preferences.
For those setting up a Wyze Cam Pan, there will be additional options to control the camera’s pan and tilt functions. This step completes the Wyze cam pan setup process.
Step 7 – Mount or Place Your Wyze Camera
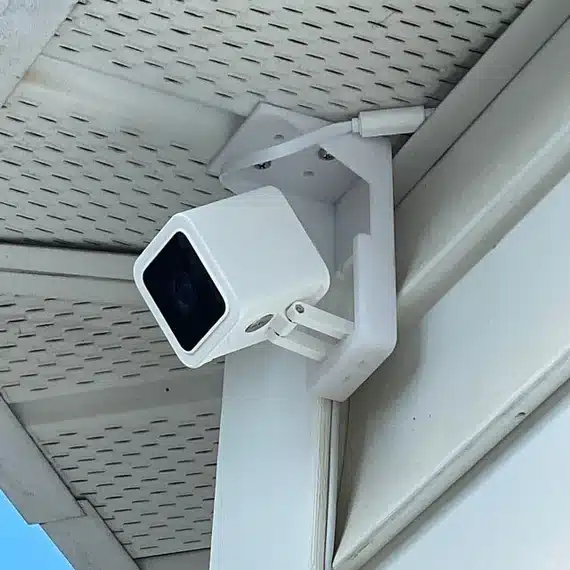
With the camera now connected and configured, it’s time to place it in your desired location. If you’re using the mounting plate, attach it to a wall or ceiling, and then snap the camera onto the plate. Ensure that the camera has a good view of the area you want to monitor and that it’s within range of your WiFi network.

Troubleshooting – How to Connect Wyze Camera to New WiFi
If you need to connect your Wyze camera to a new WiFi network, the process is similar to the initial setup. Start by pressing and holding the setup button on the camera to reset it. Then, follow the steps outlined above to connect the Wyze camera to the new WiFi network.
Additional Tips for Setting Up Your Wyze Camera
Place the camera close to your router during the initial setup to ensure a strong signal. You can move it to its final location once it’s successfully connected to WiFi.
Check for firmware updates in the Wyze app after setup. Updating the camera’s firmware ensures that it has the latest features and security improvements.
Enable two-factor authentication (2FA) on your Wyze account for added security.
Advanced Configuration – How to Set Up Wyze Cam V2
If you’re using a Wyze Cam v2, the setup process is largely the same as described above. However, there are a few additional features you may want to explore once the camera is connected. These include:
Setting up motion detection zones: This allows you to specify areas within the camera’s view that you want to monitor for motion. It’s particularly useful if you want to avoid false alerts from things like moving trees or passing cars.
Configuring local storage: The Wyze Cam v2 supports microSD cards for local recording. Insert a microSD card into the camera and use the app to format it. You can then choose to record continuously or only when motion is detected.
Reconnecting After WiFi Changes – How to Connect Wyze Cam to New WiFi

If you’ve changed your WiFi network or moved to a new location, you may need to reconnect your camera. To connect Wyze cam to new WiFi, follow these steps:
Reset the camera by pressing and holding the setup button until you hear a prompt.
Open the Wyze app and select “Add Device.”
Choose your camera model and follow the setup instructions to connect the Wyze cam to WiFi.
This process is similar to the initial setup but ensures that your camera is connected to the new network.
Conclusion
By following this guide, you’ve learned how to connect Wyze camera to your WiFi network, whether it’s your first time setting up the camera or reconnecting it after a WiFi change. The Wyze cam installation process is designed to be user-friendly, but if you encounter any issues, the Wyze support team is always available to assist.
Whether you’re setting up a Wyze Cam Pan, a Wyze Cam v2, or any other model, these steps will help you get the most out of your camera. Remember to regularly check the Wyze app for updates and to explore the additional features that can enhance your security and convenience. With your camera connected and properly configured, you can enjoy the peace of mind that comes from knowing your home is being monitored effectively.
