Table of Contents
Bringing your camera into the digital world opens up an array of exciting possibilities—whether you’re transferring stunning photos, upgrading your video calls, or venturing into content creation. But if you’re feeling a bit lost on where to begin, don’t worry—you’re exactly where you need to be! This hands-on guide will break down everything you need to know about how to connect camera to computer, step by step. From basic setup to seamless operation, we’ve got the details covered. Whether you’re new to tech or just need a quick refresh, these clear and simple instructions will have your camera connected and running in no time. Ready to embark on this journey? Let’s dive in and get started!
1. Gather Your Equipment
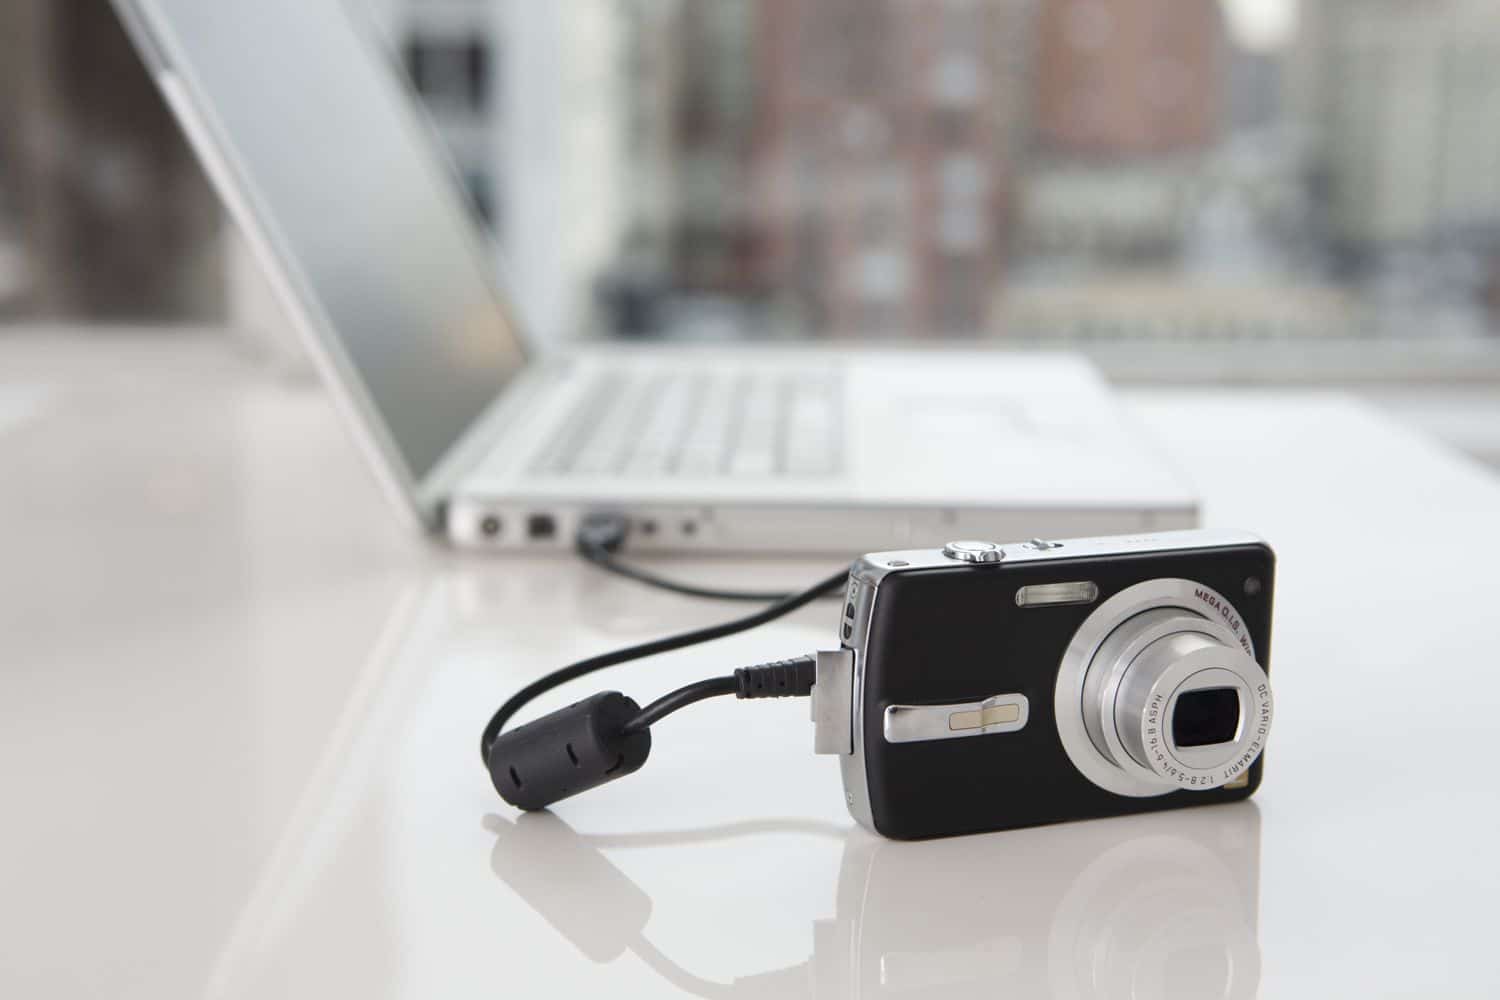
Before you begin, make sure you have all the necessary components to connect your camera to the computer. Here’s what you’ll need:
- Camera: Whether it’s a DSLR, mirrorless, point-and-shoot, or a camcorder, ensure it’s fully charged or connected to a power source.
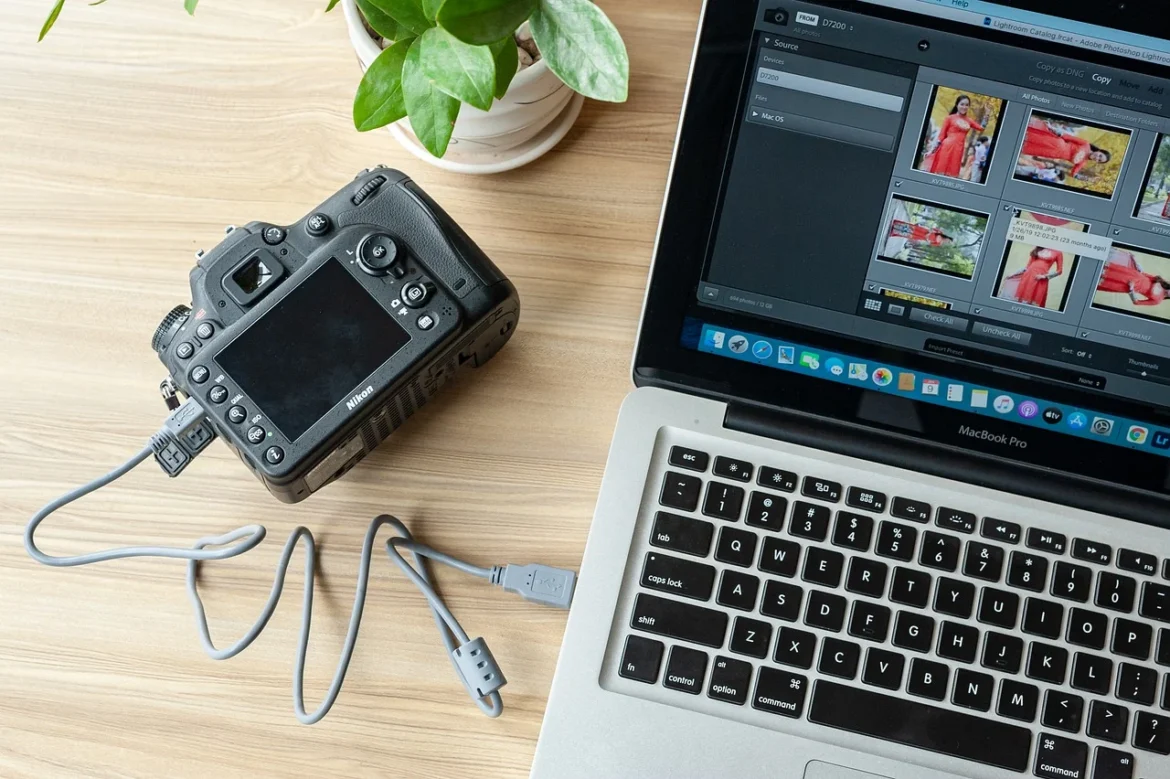
- USB Cable: Most cameras come with a USB cable that can be used to connect a camera to the computer. Ensure the cable is compatible with both your camera and computer.
- Computer: A desktop, laptop, or even a tablet that has a USB port or the necessary connectivity options.
- Software (if required): Some cameras require specific software or drivers to be installed on your computer before they can be connected. Refer to your camera’s manual for more information.
2. How to Connect Camera to Computer Using a USB Cable
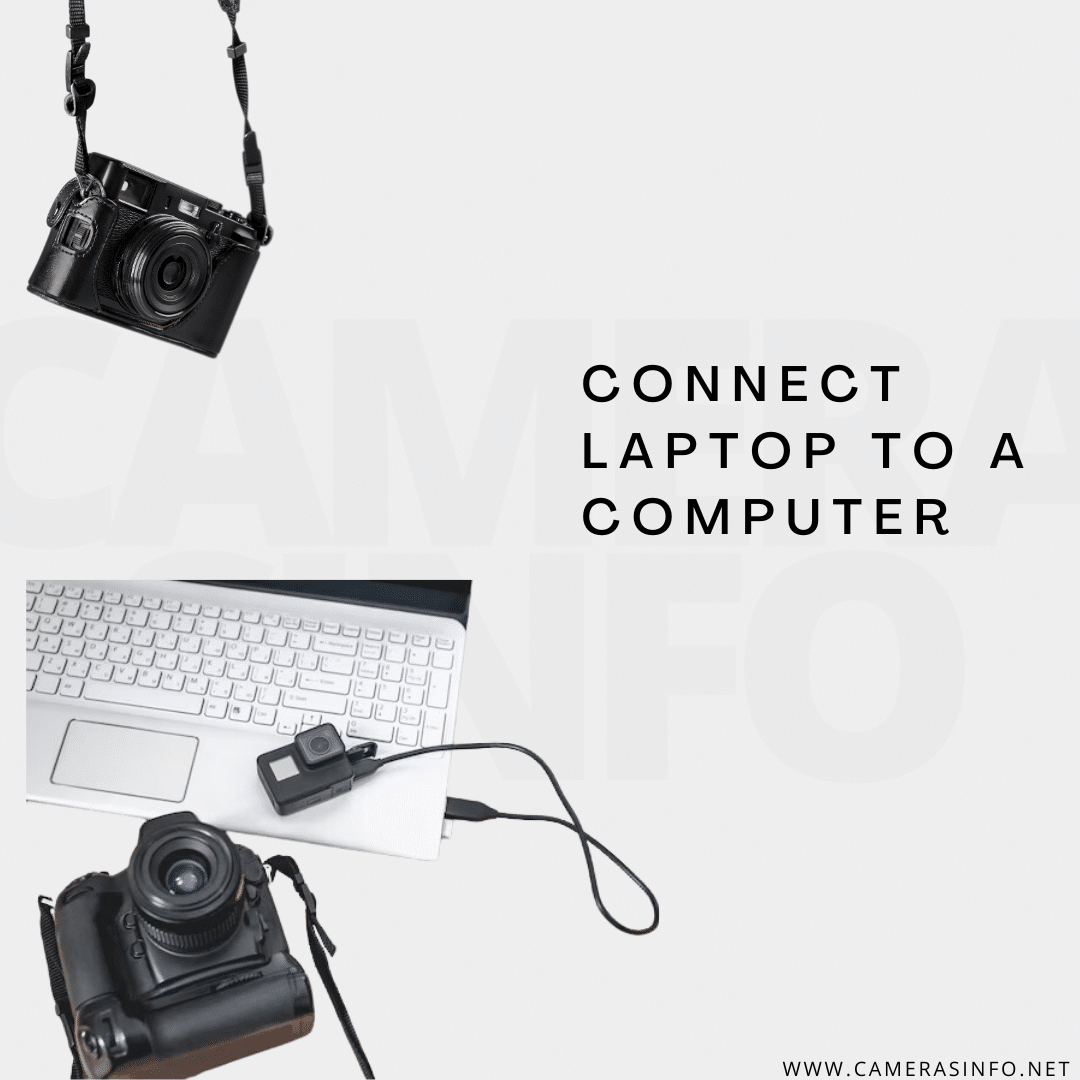
The most common method of connecting a camera to your computer is via a USB cable. Here’s how you can do it:
Step 1 – Turn Off Your Camera
Before you hook camera to computer, it’s advisable to turn off your camera to prevent any potential data loss or damage.
Step 2 – Plug in the USB Cable
Insert one end of the USB cable into your camera’s USB port. However, the location of the USB port may vary depending on the camera model. Next, insert the other end of the cable into a USB port on your computer.
Step 3 – Turn On the Camera
Once the USB cable is securely connected, turn on your camera. In most cases, your computer will automatically recognize the camera and a prompt will appear on your screen asking what you would like to do with the connected device.
Step 4 – Select the Desired Action
Depending on your operating system, you may be prompted with options like “Import Photos and Videos,” “Open Device to View Files,” or “Use as Webcam.” Select the option that best suits your needs.
Step 5 – Transfer Files or Use as a Webcam
If you’re connecting the camera to a computer to transfer files, simply follow the on-screen instructions to copy the images and videos to your desired location. If you’re using the camera as a webcam, ensure your preferred video conferencing software recognizes the camera as a video source.
3. How to Hook Up Your Camera to Your Computer Wirelessly
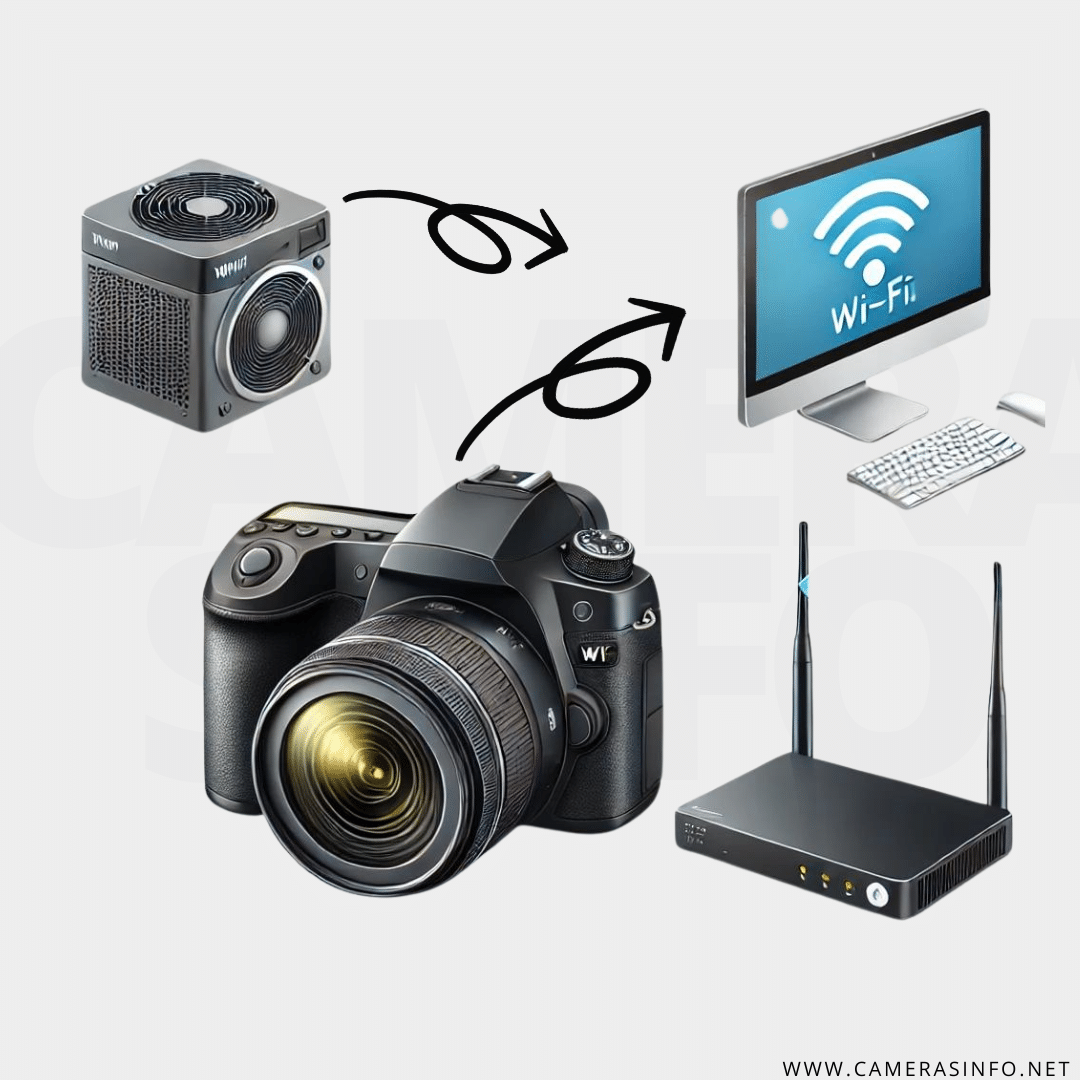
Some modern cameras offer the option to connect a camera to your PC or laptop wirelessly, eliminating the need for a physical cable. Here’s how to do it:
Step 1 – Enable Wi-Fi on Your Camera
Turn on your camera and navigate to the settings menu. Look for a Wi-Fi option and enable it. Your camera may prompt you to create a new network connection.
Step 2 – Connect to the Same Wi-Fi Network
Ensure that your computer is connected to the same Wi-Fi network as your camera. This is crucial for establishing a successful wireless connection.
Step 3 – Use the Camera’s App or Software
Most camera manufacturers offer proprietary apps or software that allow you to connect the camera to a computer wirelessly. Moreover, Download and install the appropriate software on your computer. Open the software and follow the on-screen instructions to establish a connection.
Step 4 – Transfer Files or Stream Video
Once connected, you can use the software to transfer files or even use your camera as a wireless webcam. This method is particularly useful if you’re looking to link a camera to a computer without the hassle of cables.
4. How to Connect a Canon Camera to a Computer
Canon cameras are popular among photographers, and connecting a Canon camera to a computer is a common task. however, here’s a quick guide on how to connect a Canon camera to a computer:
Step 1 – Install Canon Software (if necessary)
Canon often provides software like EOS Utility for DSLR cameras. However, this software helps in transferring files and controlling the camera remotely. Download and install the software from Canon’s official website.
Step 2 – Connect the Camera via USB
Use the USB cable provided with your Canon camera to connect the camera to the computer. Once connected, turn on the camera.
Step 3 – Open EOS Utility (if installed)
If you have installed EOS Utility or any other Canon software, it should automatically open when the camera is connected. Use the software to transfer files or control the camera.
Step 4 – Use Canon Camera as a Webcam
Canon also provides software like EOS Webcam Utility, which allows you to use your Canon camera as a webcam. However, this can be useful for high-quality video streaming or video calls.
5. Troubleshooting Connection Issues
If you encounter issues while trying to connect your camera to your PC, here are some troubleshooting tips:
- Check the Cable: Ensure the USB cable is securely connected to both the camera and the computer. If the connection is loose, try using a different cable.
- Restart Devices: Sometimes, simply restarting your camera and computer can resolve connection issues.
- Update Drivers: Make sure your computer has the latest drivers installed for your camera. However, visit the camera manufacturer’s website to download and install the latest drivers if necessary.
- Try a Different USB Port: If the camera is not recognized, try connecting it to a different USB port on your computer.
- Check for Software Conflicts: Ensure that any software required for the camera to connect is properly installed and updated.
6. Conclusion
Learning how to connect a camera to a computer is essential for anyone who wants to transfer files, use their camera as a webcam, or simply backup their photos and videos. Whether you’re using a USB cable or opting for a wireless connection, the process is generally straightforward. Moreover, with the steps outlined in this guide, you should be able to hook up your camera to your computer with ease.
Remember, whether you’re wondering how to connect my camera to my computer or how to connect a camera to a laptop, the key is to follow the proper steps and ensure all necessary components are in place. Whether you’re dealing with a Canon, Nikon, or any other brand, these general guidelines will help you get your camera connected and ready for use.
